
How To Guides
Open your event and find the Tickets section
Tickets are added from within an existing event. Navigate to your event using the following click path, then scroll to the bottom of the form where the Tickets section is located.
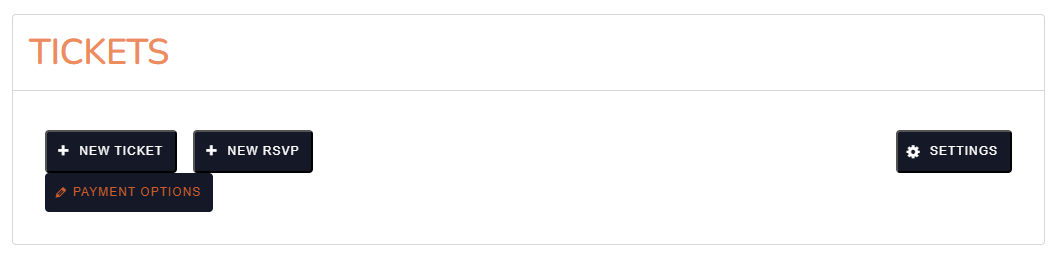

Set up Payment Options (first time only)
Before you can create any tickets, you need to connect your PayPal account so that ticket payments go directly to you. In the Tickets section, click the Payment Options link. This takes you to a separate page where you enter your PayPal details.
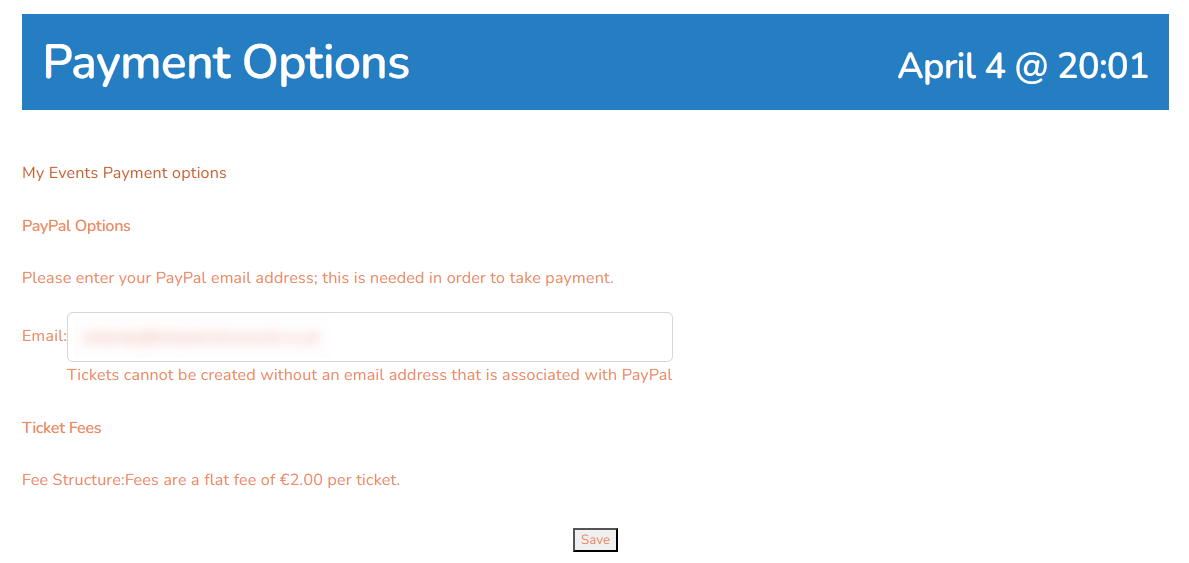
On the Payment Options page, you will see two things:
Once you have entered your PayPal email, save the page and return to your event. You only need to do this once — your PayPal details are saved to your organiser account and will be used automatically for all future events.

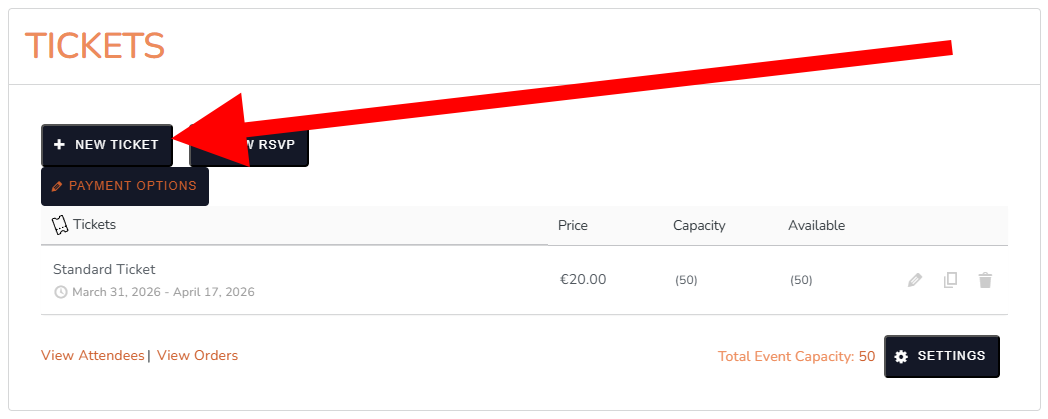
Click + New Ticket
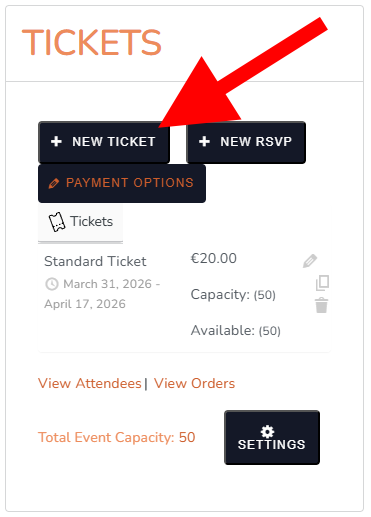
Back in the Tickets section of your event, click the + New Ticket button. This opens the ticket creation form directly below, where you can configure your first ticket type.
You can add as many ticket types as you need — for example Early Bird, General Admission, and VIP — by clicking + New Ticket again after saving each one. Each ticket type is configured separately.
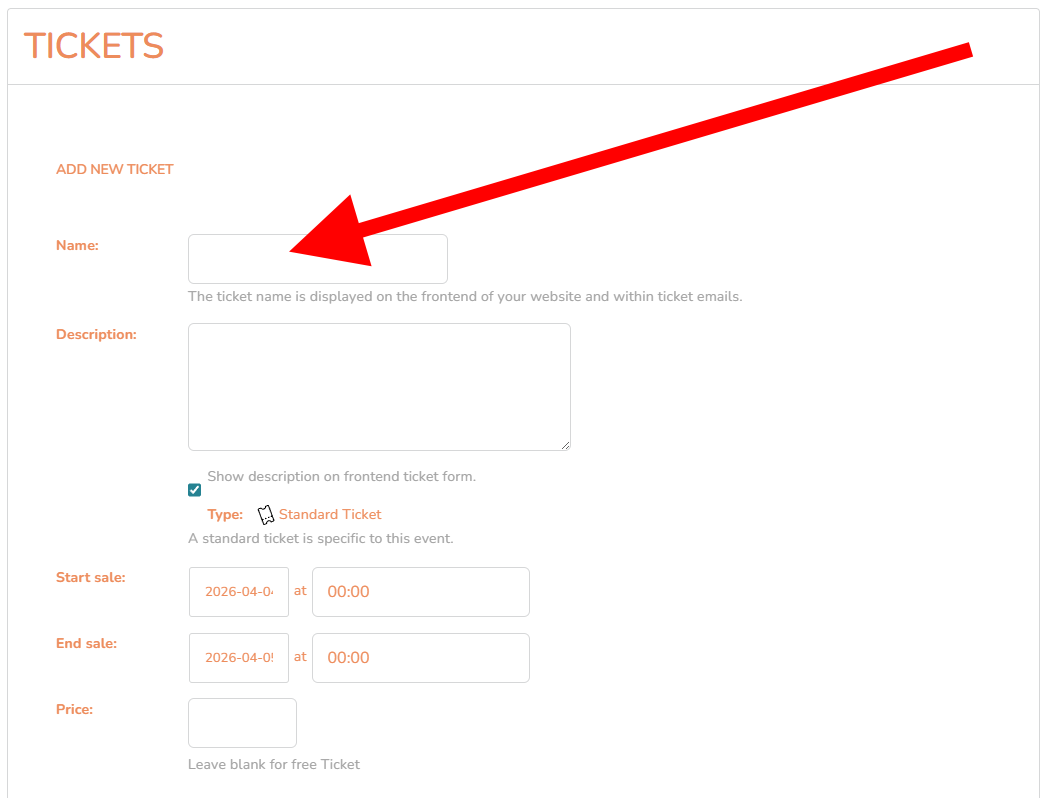
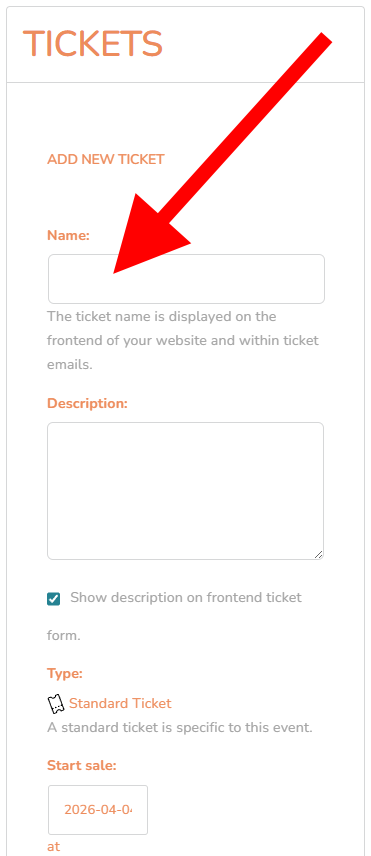
Enter the ticket name
The Name field is the label your attendees will see when choosing a ticket on your event page. It should clearly describe the ticket type so buyers know exactly what they are purchasing.
Set the price and capacity
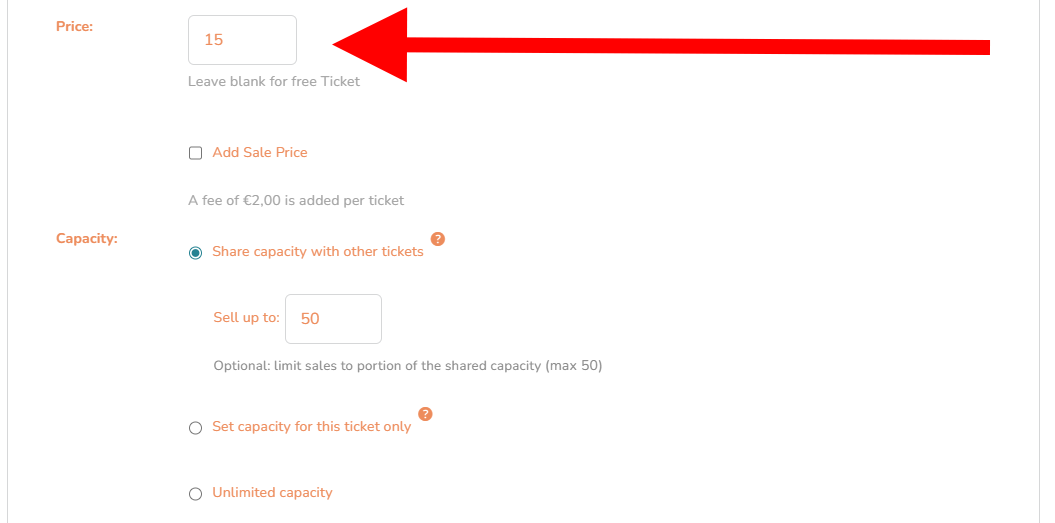
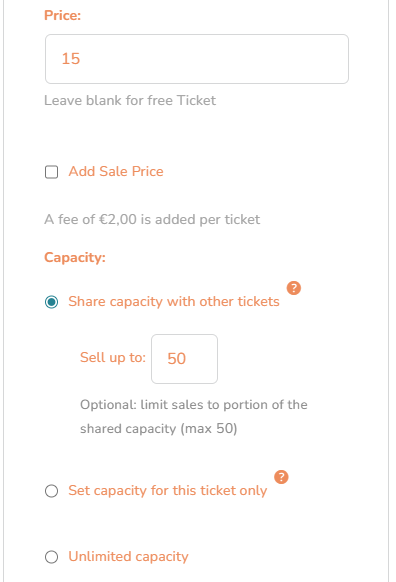
These two fields control how much your ticket costs and how many are available to sell.
Below the price field, you will see the Capacity option. Choose one of the three available options:
Add a sale price (optional)
If you want to offer a temporary discounted price for this ticket — for example an early bird discount before a deadline — you can set a Sale Price. This is entirely optional. If you do not need a discounted price, leave these fields blank and skip to Step 7.
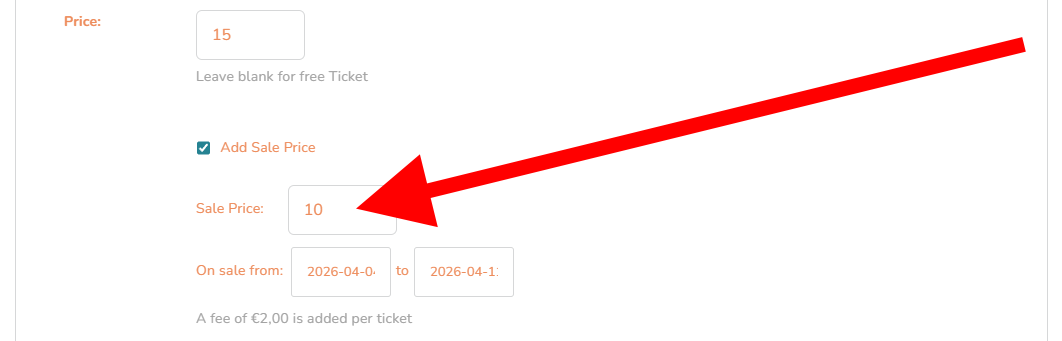
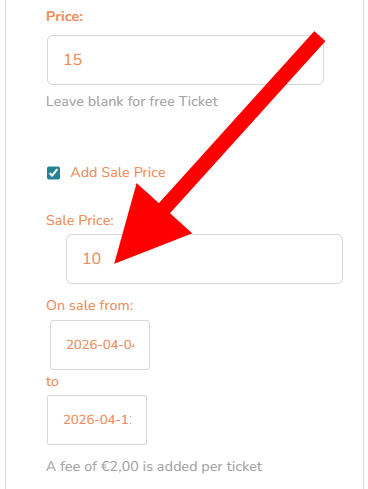
Set the Start Sale and End Sale dates and times
The Start Sale and End Sale fields control the window during which attendees can actually purchase this ticket. It is critical to set these correctly — if the window is not open, the ticket will not be available to buy even if the event is live.
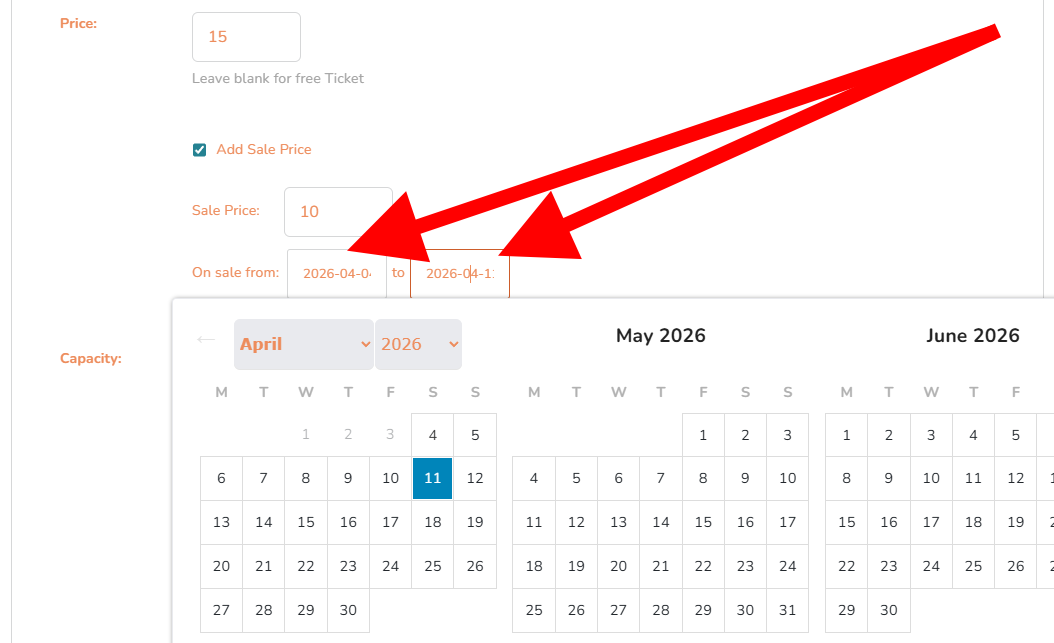
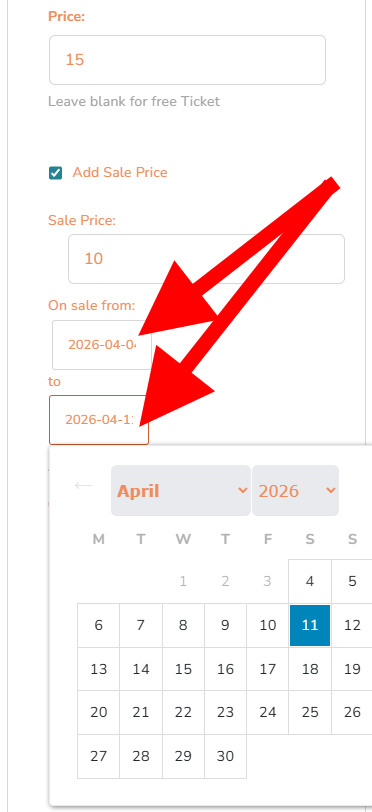
Add a description, SKU, and save your ticket
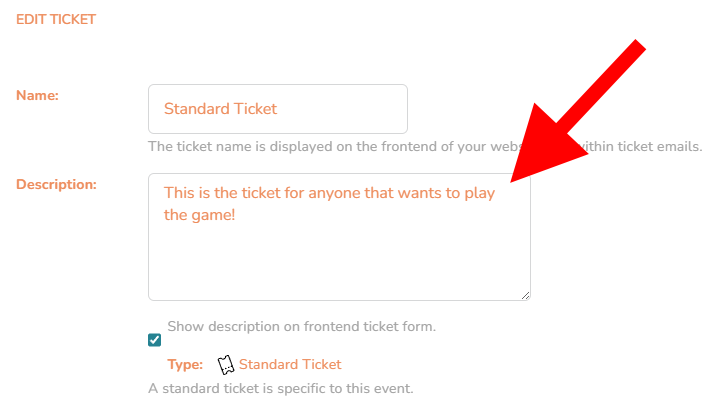
Before saving, you can optionally add a Ticket Description and a SKU. The description is in the standard section; the SKU is found inside the Advanced accordion — click the Advanced label to expand it.
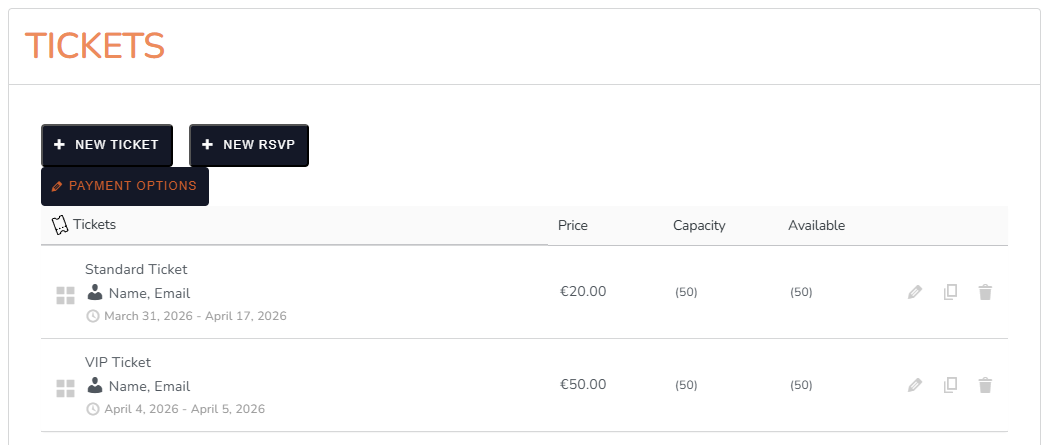
Once you are happy with all the fields, click Save Ticket. The ticket will appear in the Tickets section of your event. Each saved ticket shows three action options:


Log in and open the Add Event form
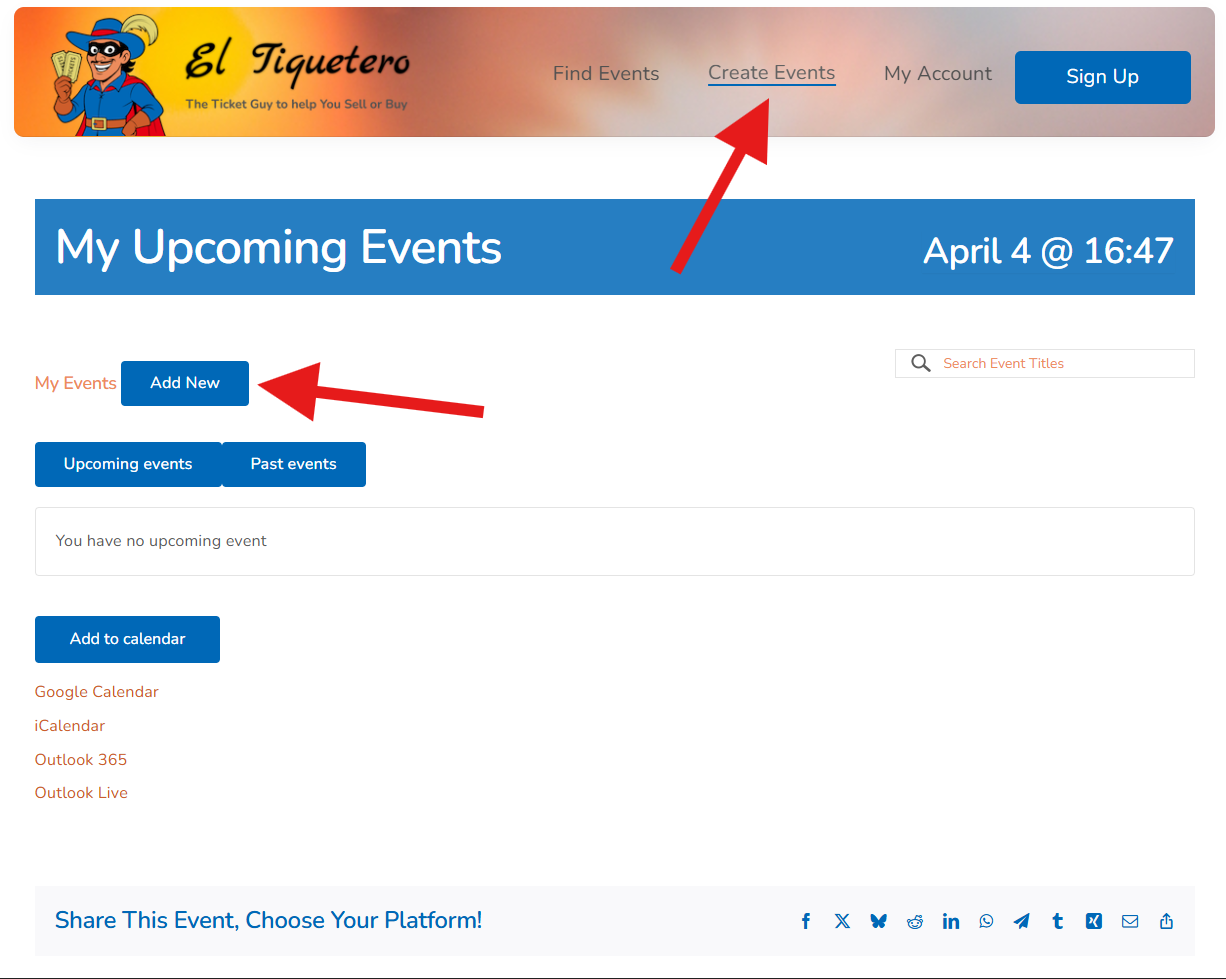
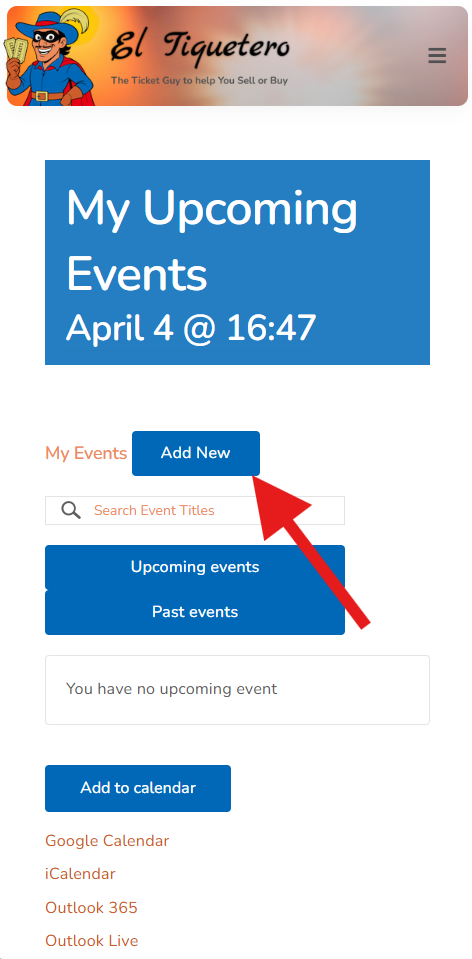
Log in to your organiser account, then follow this click path to reach the event submission form:
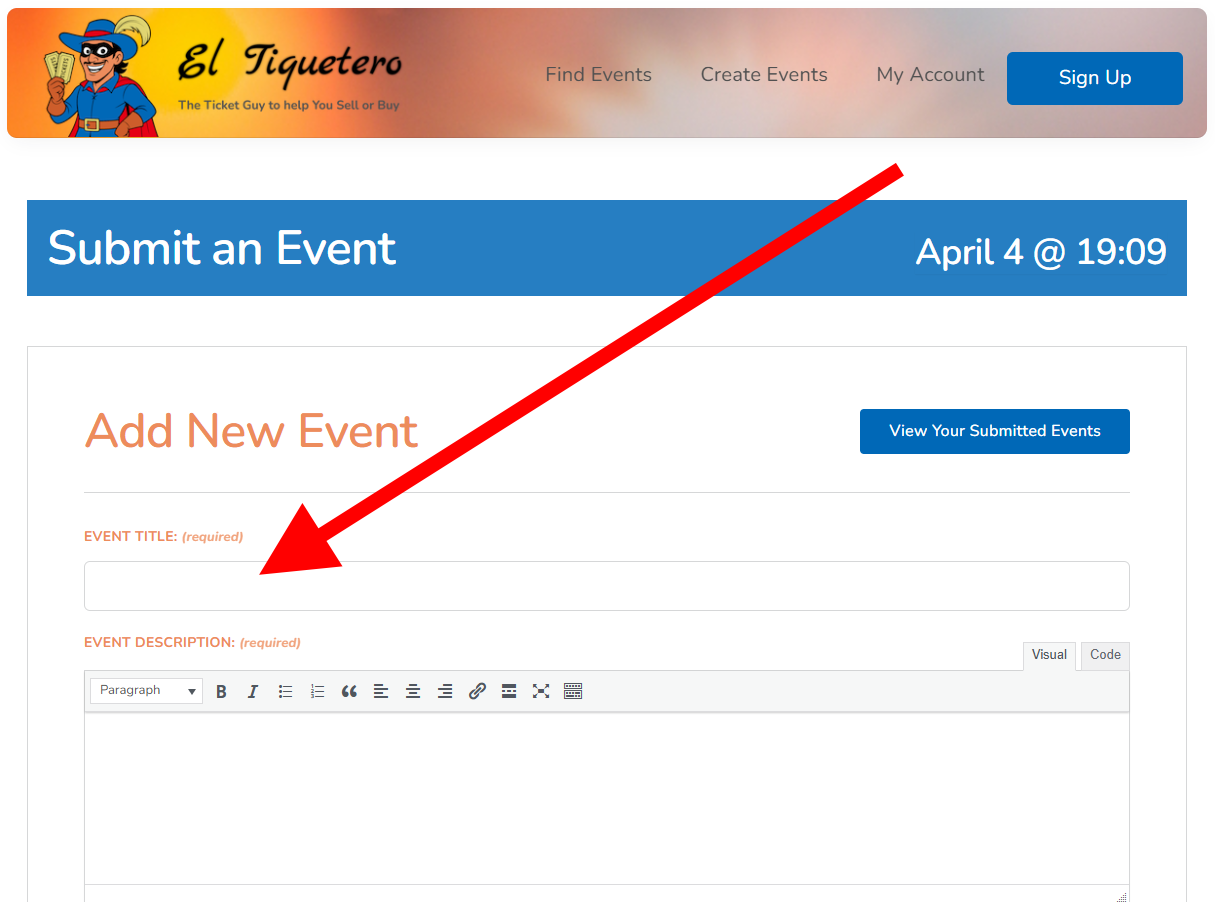
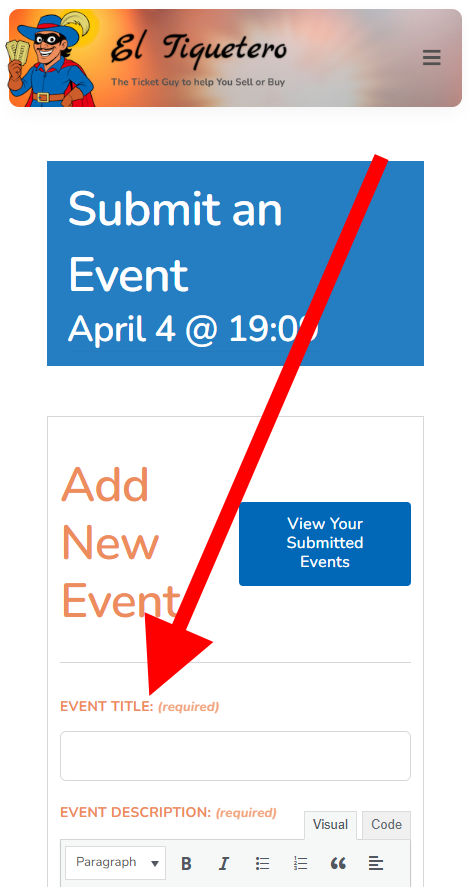
Enter your event title
The Event Title field is at the very top of the form. This is the name of your event as it will appear publicly on the El Tiquetero calendar, on your event page, and on every ticket purchased. Make it clear, specific, and easy to search for.
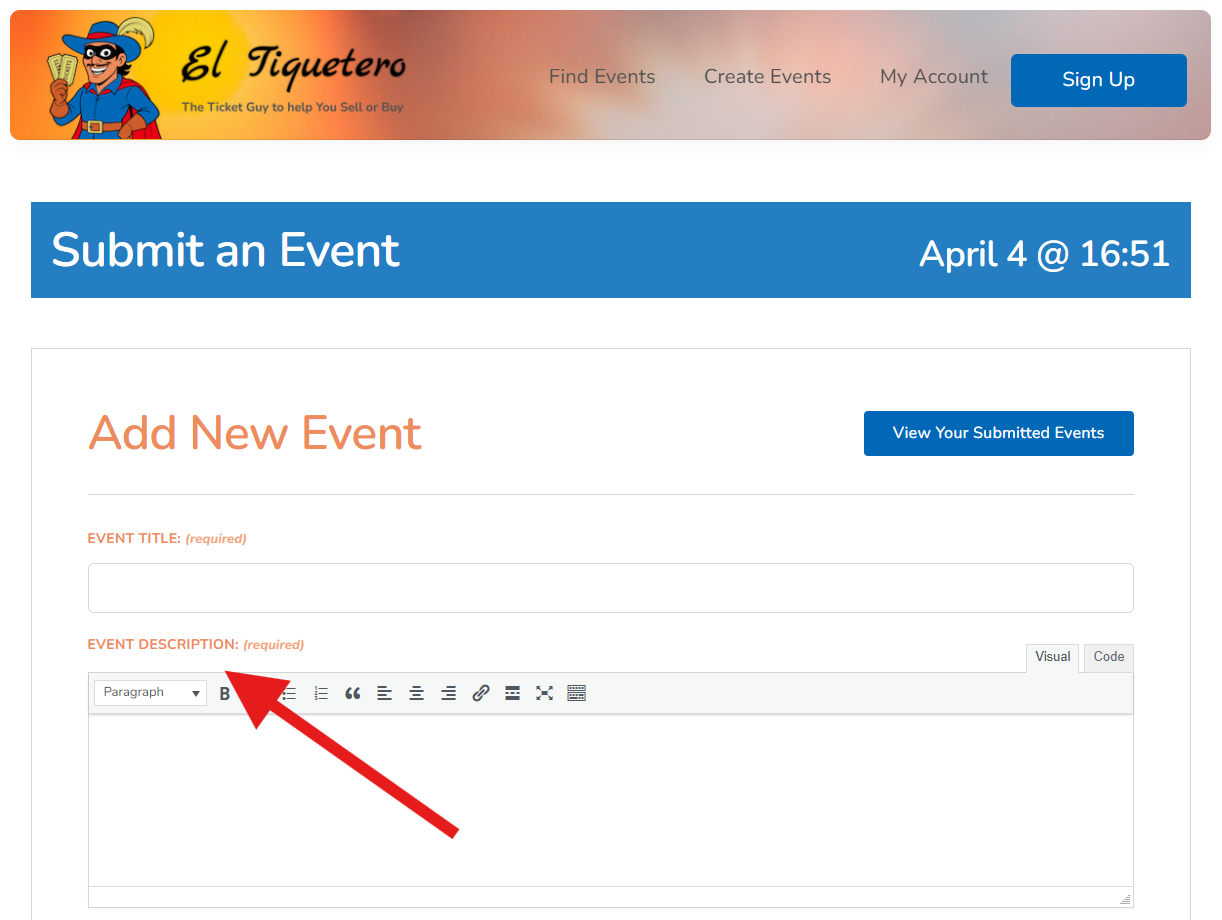
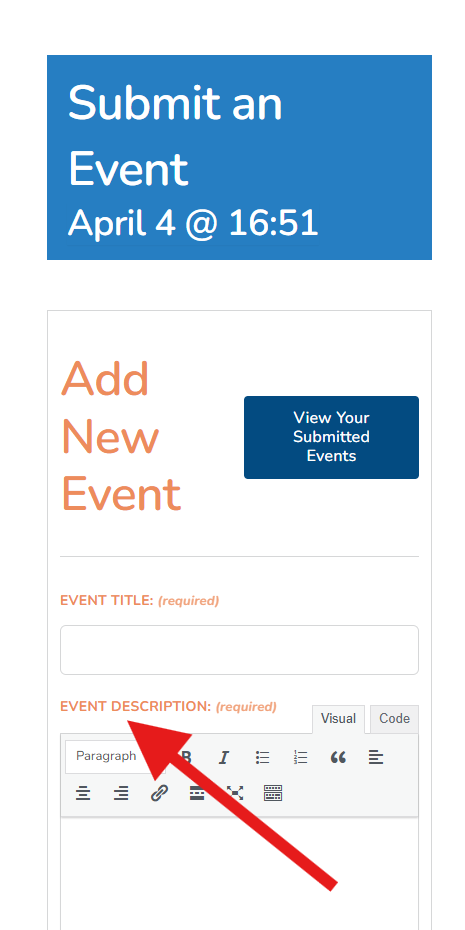
Write your event description
The Description field sits directly below the title. This is your opportunity to tell potential attendees everything they need to know — what the event is, what to expect, who it's for, and why they shouldn't miss it. The description appears on your public event page.
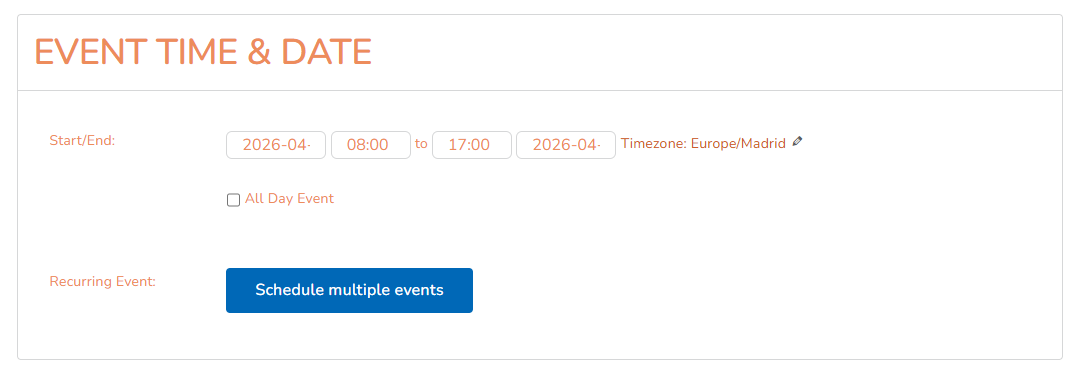
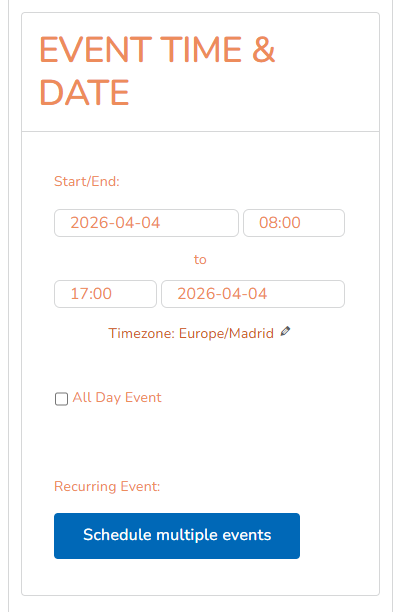
Set your date and time
The Date & Time section is where you tell attendees exactly when your event takes place. Click any date field to open a calendar picker, or type the date directly. Here's what each field does:
Upload your event image
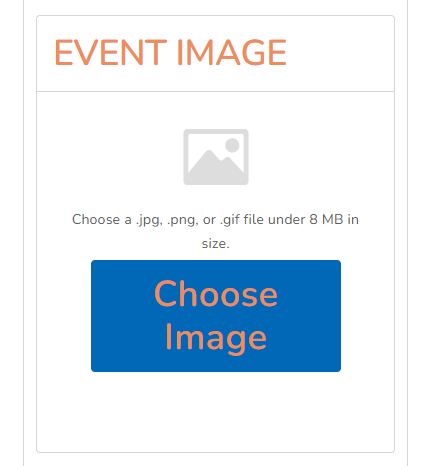
The Event Image section lets you upload a banner or poster for your event. This image appears on the public calendar listing, on your event page, and on any promotional sharing. Click Upload Image, select your file, and confirm.

Add your venue
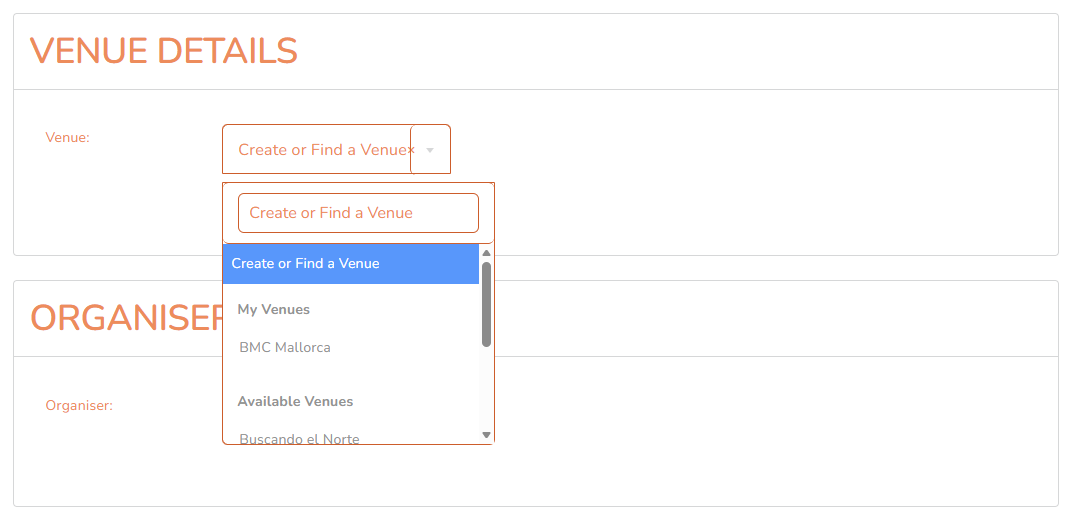
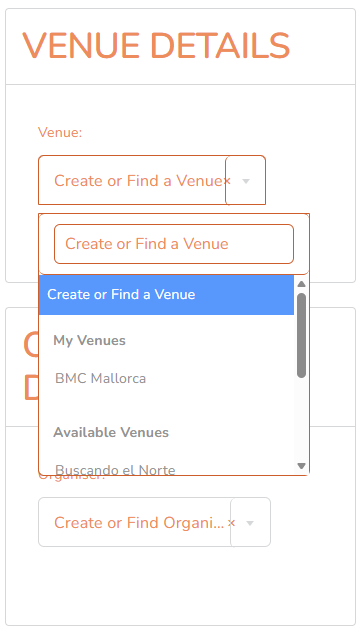
The Venue section tells attendees where your event is taking place. You can either select an existing venue from the dropdown or create a new one. To create a new venue, type its name into the search box and select Create from the options that appear — this reveals the full venue form below.
Add your organiser details
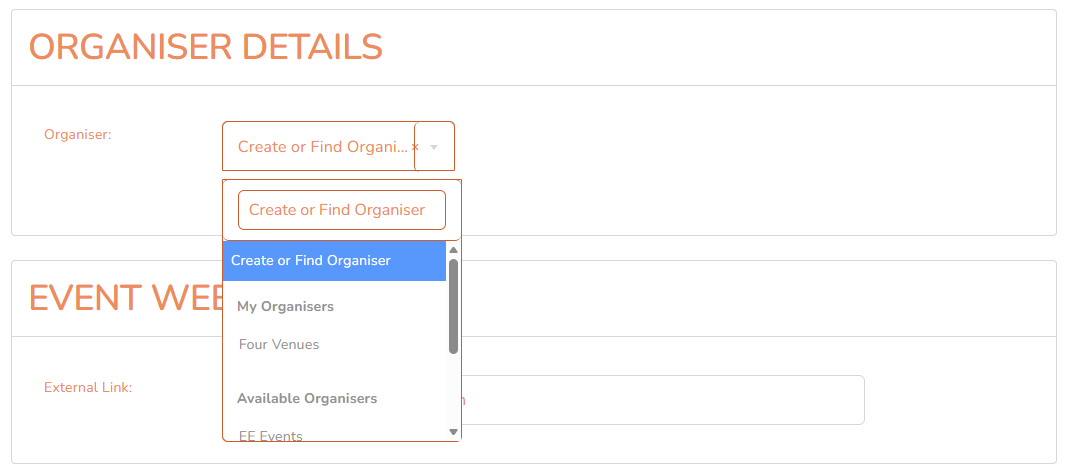
The Organiser section identifies who is running the event. This information appears publicly on the event page. You will need to add your organiser details each time you submit an event.
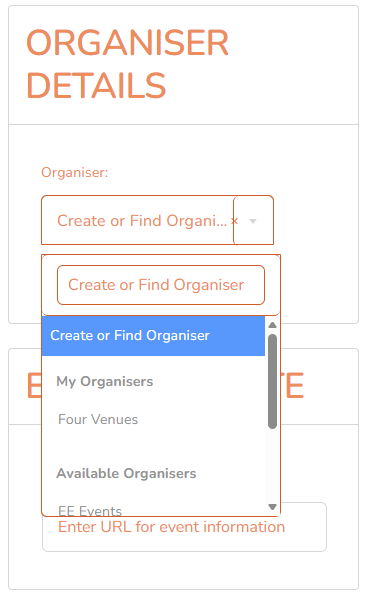
The dropdown is divided into two sections for convenience: My Organisers at the top lists any organisers you have previously created, and Available Organisers below lists all organisers on the platform. Select an existing one, or type a name and choose Create to add a new organiser.
Add a category and tags
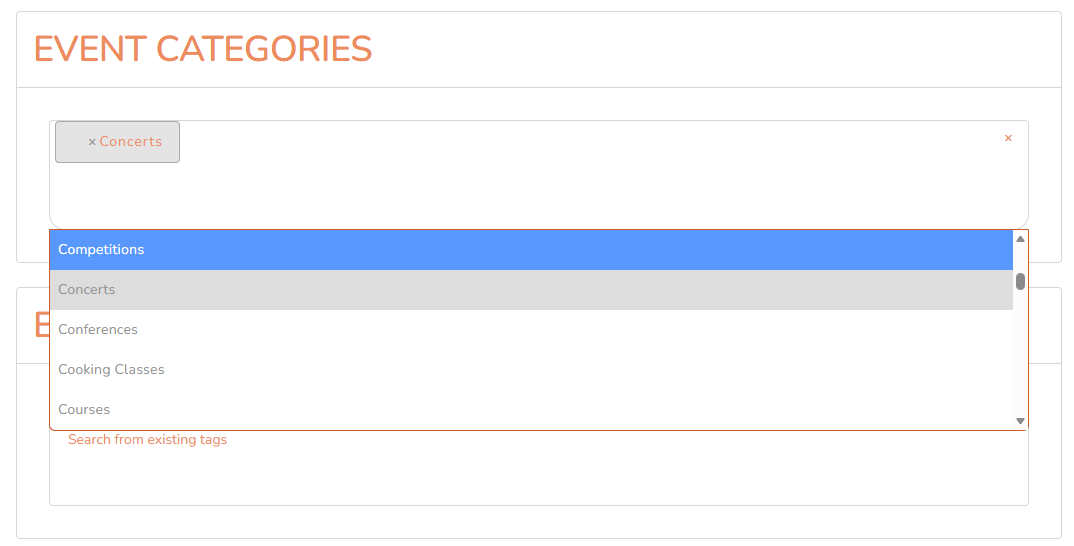
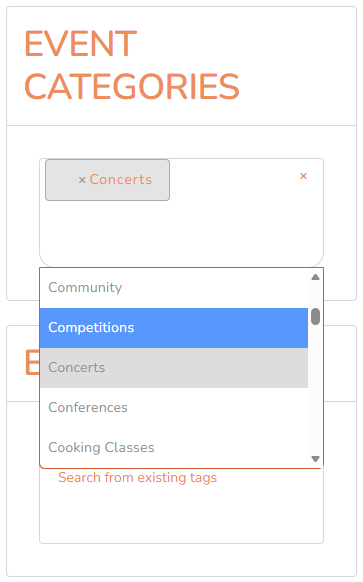
Categorising your event helps attendees find it when browsing or filtering the El Tiquetero calendar.
Set up your tickets
The Tickets section appears below the category and tags fields. This is where you create the ticket types for your event — for example General Admission, Early Bird, or VIP.
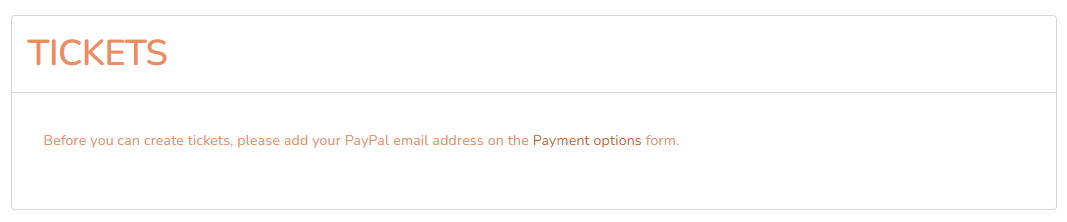
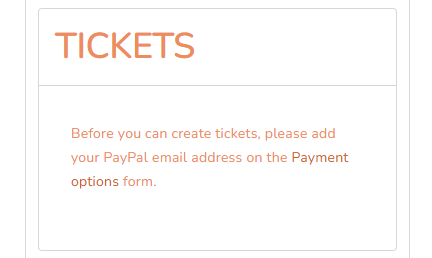
Before you can add any tickets, you must first connect your PayPal account so that payments go directly to you. You'll see a Payment Options link in the tickets section — click this first, enter your PayPal email address, and confirm the El Tiquetero fee structure. Once that's done, return to the form to add your tickets.
Agree to the Terms of Submission and submit
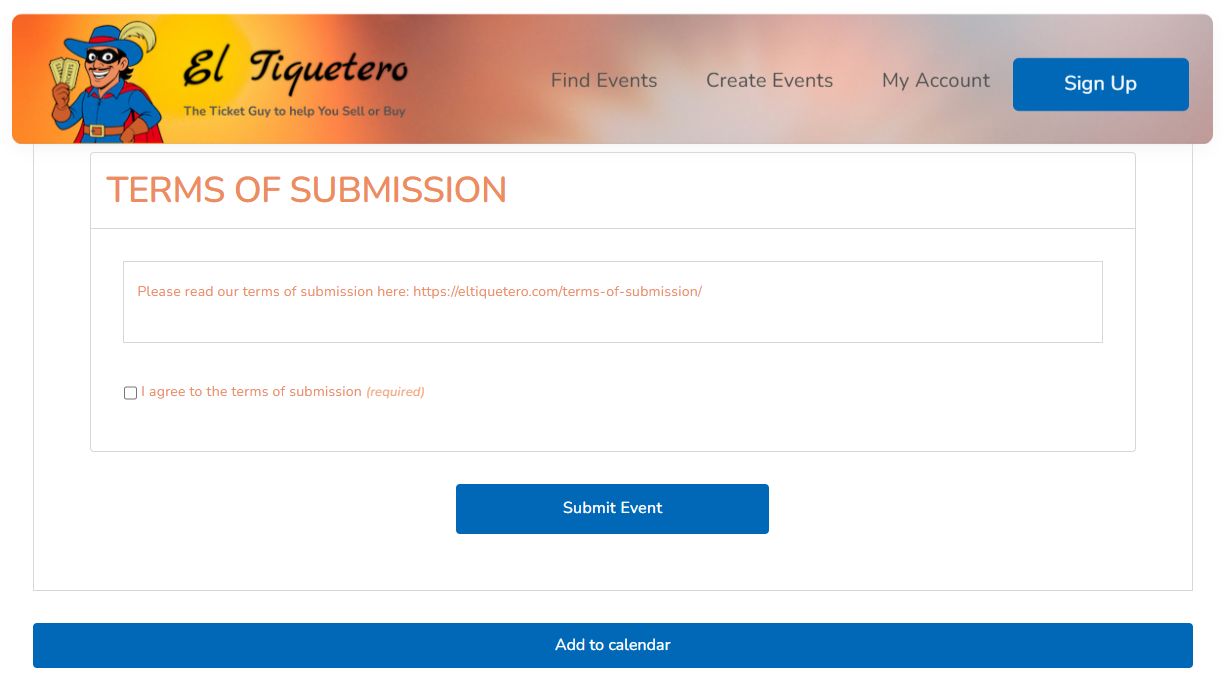
At the bottom of the form you will find the Terms of Submission checkbox. You must tick this every time you create or modify an event — it confirms that your event complies with El Tiquetero's submission guidelines.
You can read the full terms by clicking the Terms of Submission link. Once ticked, click the Submit button. Your event will publish immediately and appear live on the El Tiquetero calendar straight away — there is no waiting period or manual approval required.
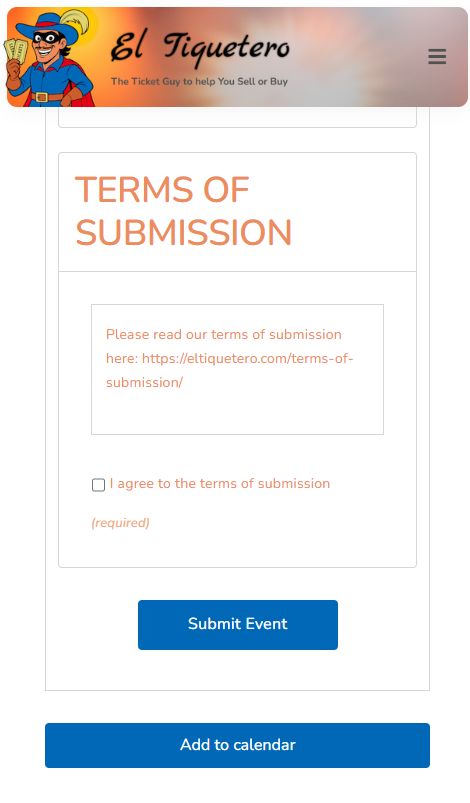
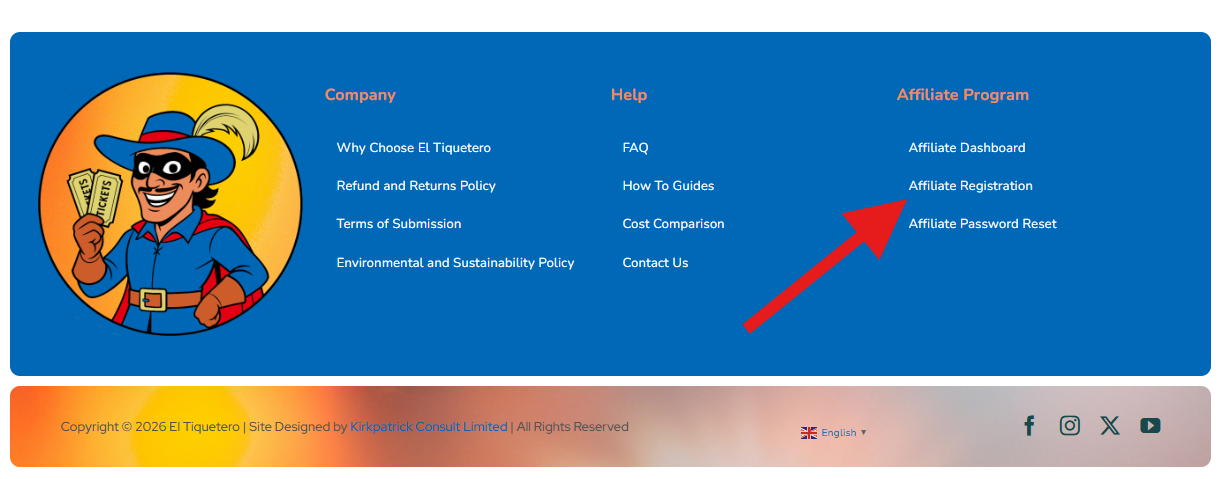
Go to Affiliate Registration
Scroll to the bottom of any page on the El Tiquetero website and look for the Affiliate Program section in the footer. Click Affiliate Registration to open the sign-up form.
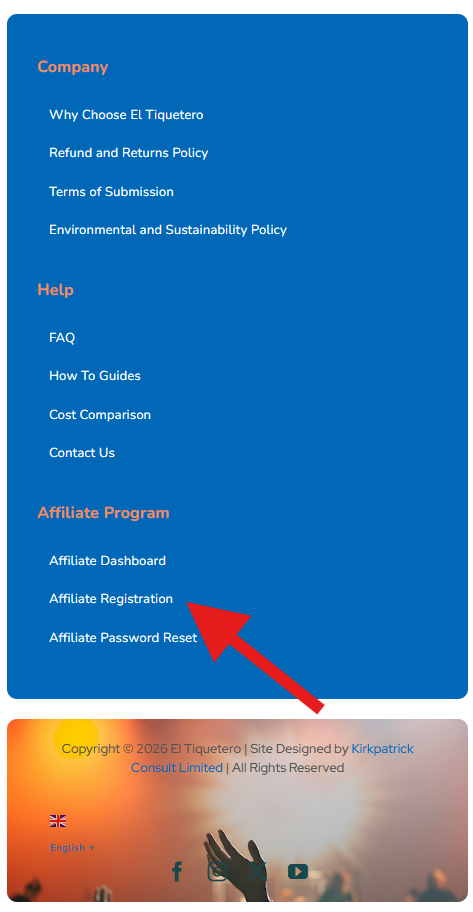
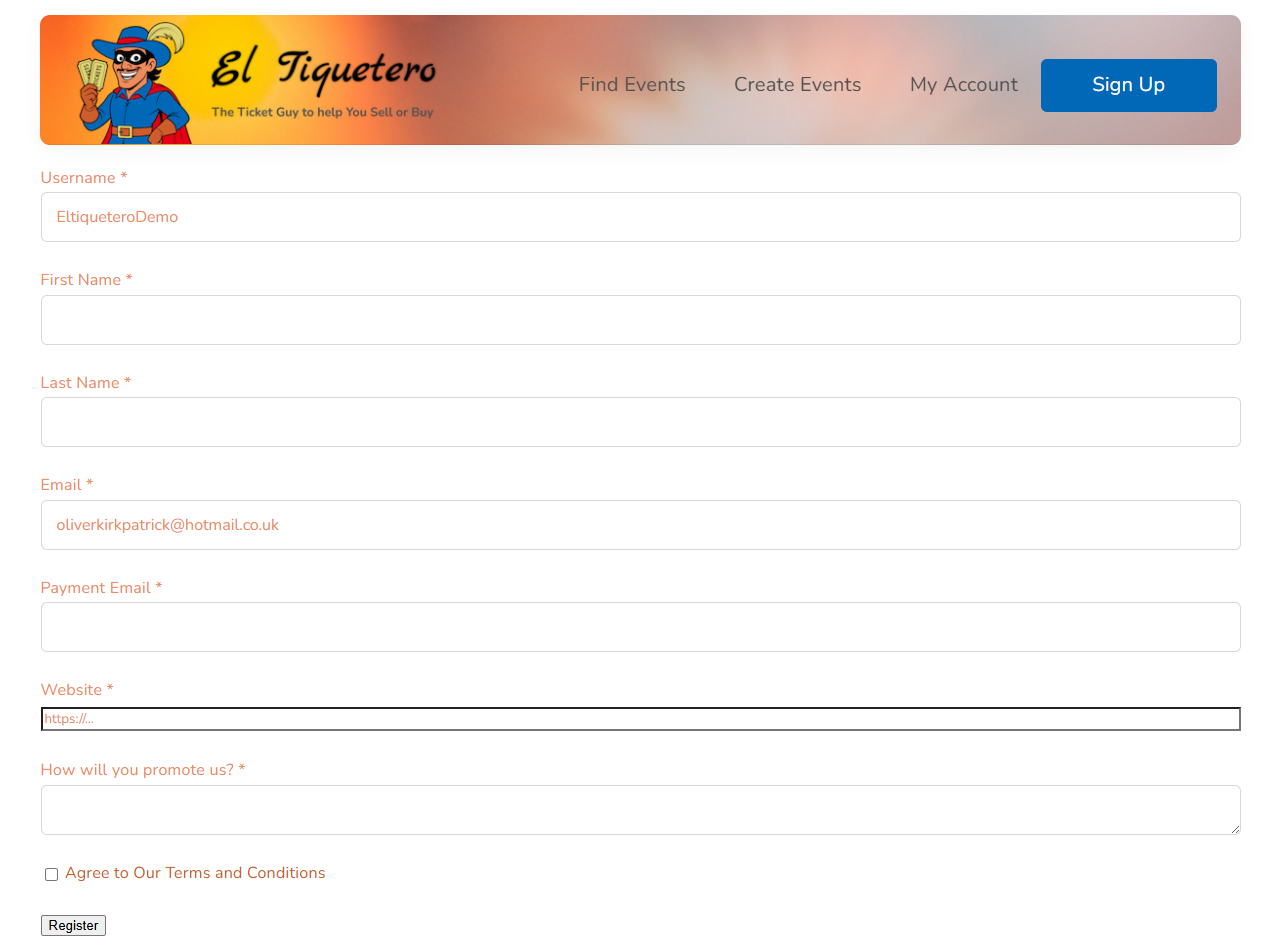
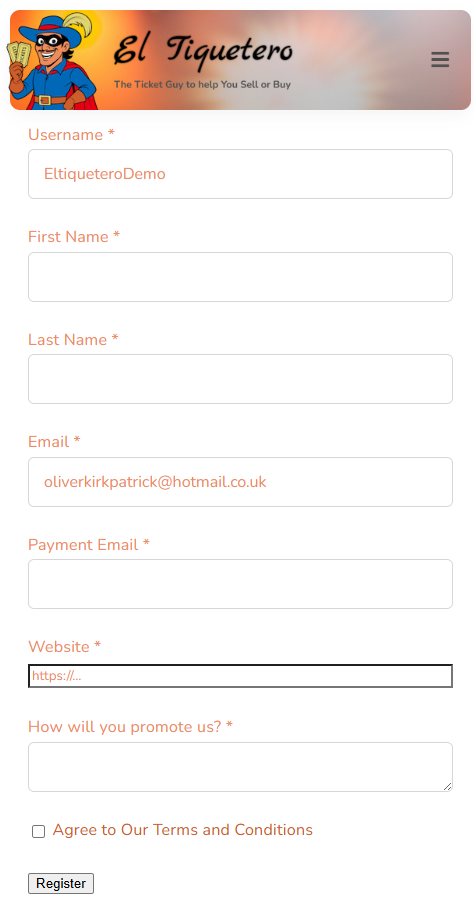
Fill in your details
Complete all fields on the registration form. Here's what each one is for:
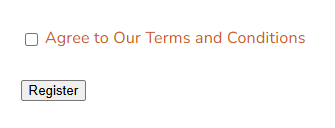
Agree to the terms and click Register
At the bottom of the form, tick the Agree to Our Terms and Conditions checkbox — you can read the full terms by clicking the link. Then click the Register button to submit your application.
Your account is automatically approved
El Tiquetero's affiliate programme uses automatic approval — there's no waiting period and no manual review required. The moment you click Register, your affiliate account is created and active straight away.
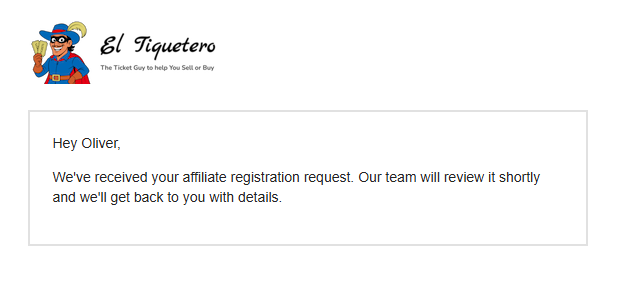
Check your email for confirmation
El Tiquetero will send a welcome email to the address you registered with. This confirms your affiliate account is active and includes useful information about getting started.
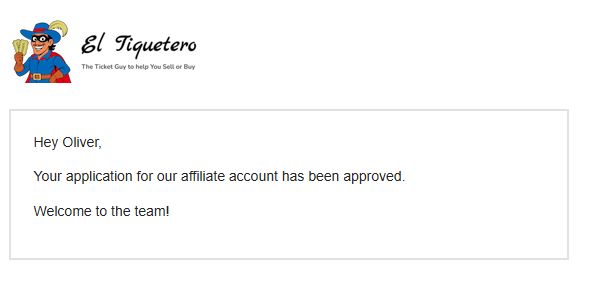
Log in to your Affiliate Dashboard
Go to the Affiliate Program section in the footer and click Affiliate Dashboard. Enter the email address and password you registered with, then click Login.
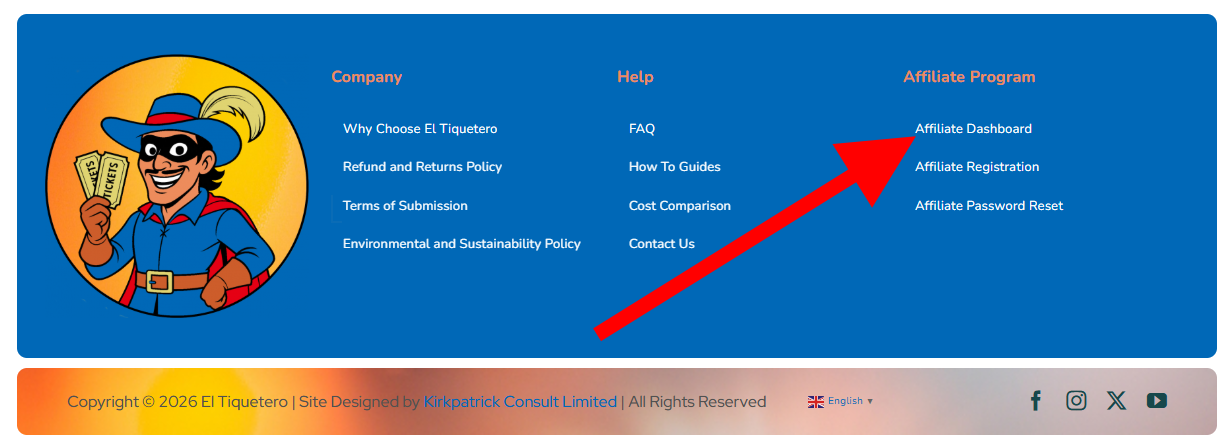
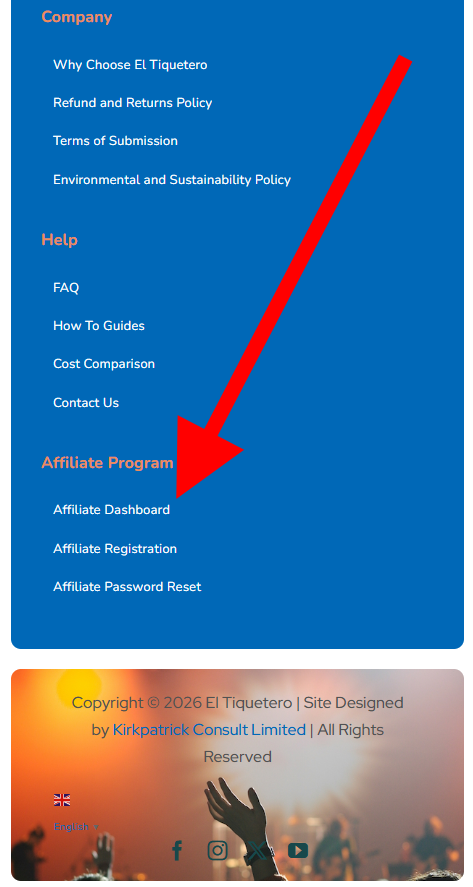
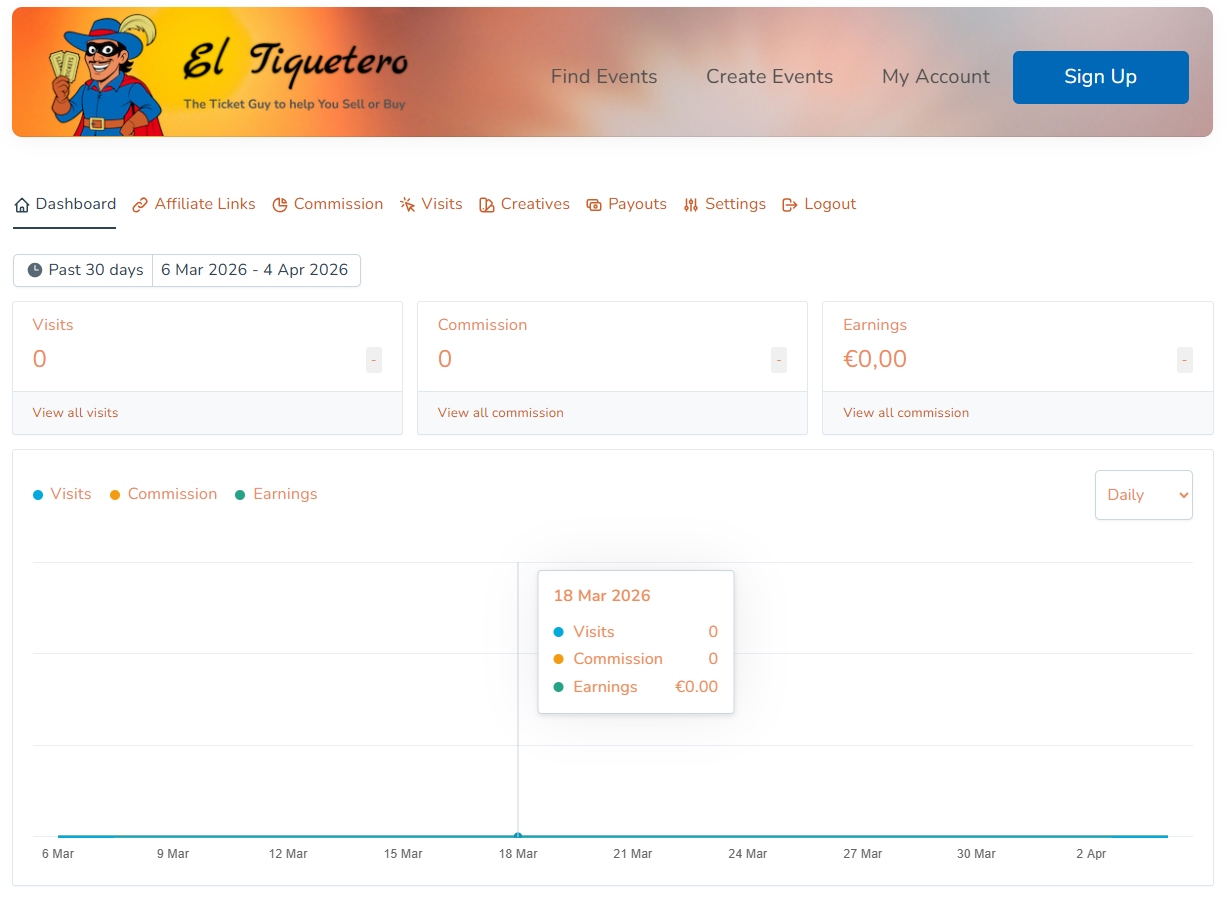
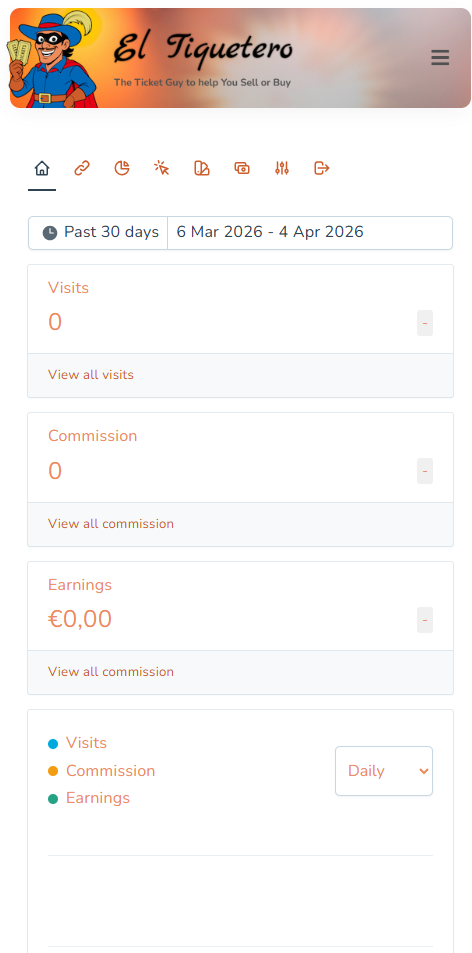
You're in — explore your dashboard
After logging in you'll land on your Affiliate Dashboard. Everything you need to start earning is here. The dashboard is organised into tabs:
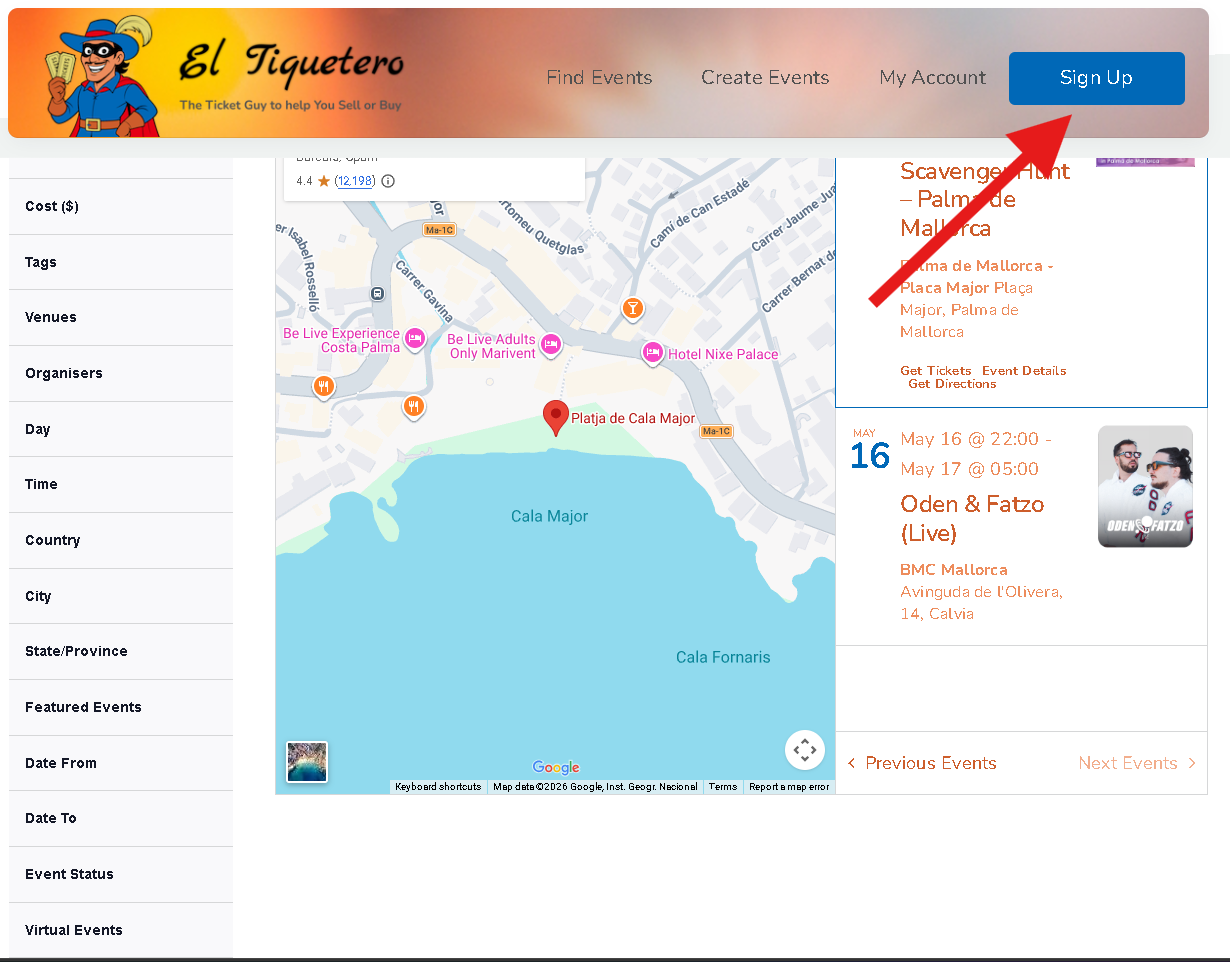
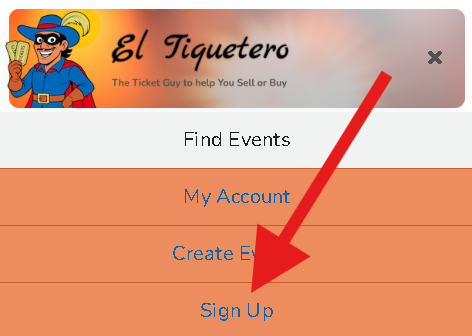
Go to Sign Up
From the El Tiquetero homepage, click Sign Up in the top navigation menu. You'll find it in the top-right corner on desktop, or in the menu on mobile.
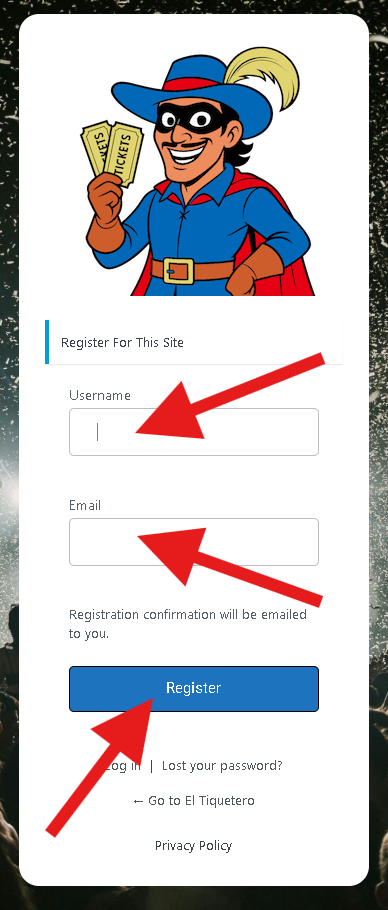
Enter your username and email
On the registration form, enter a username (this is how you'll appear on the platform) and your email address. Then click Register.
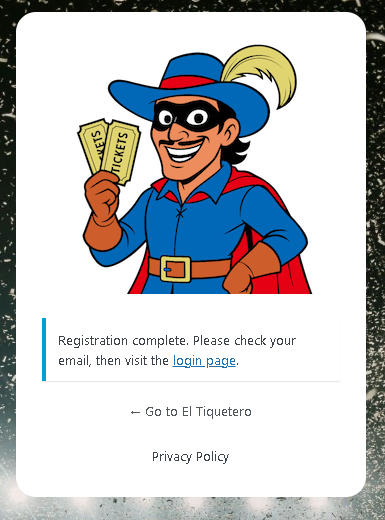
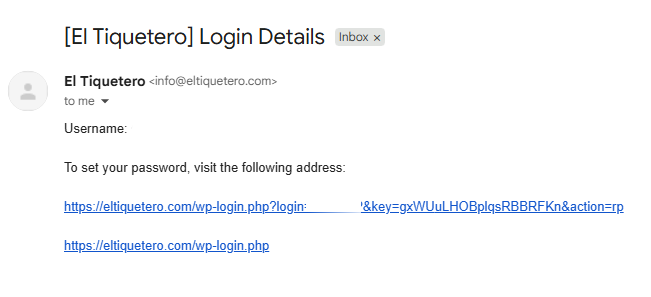
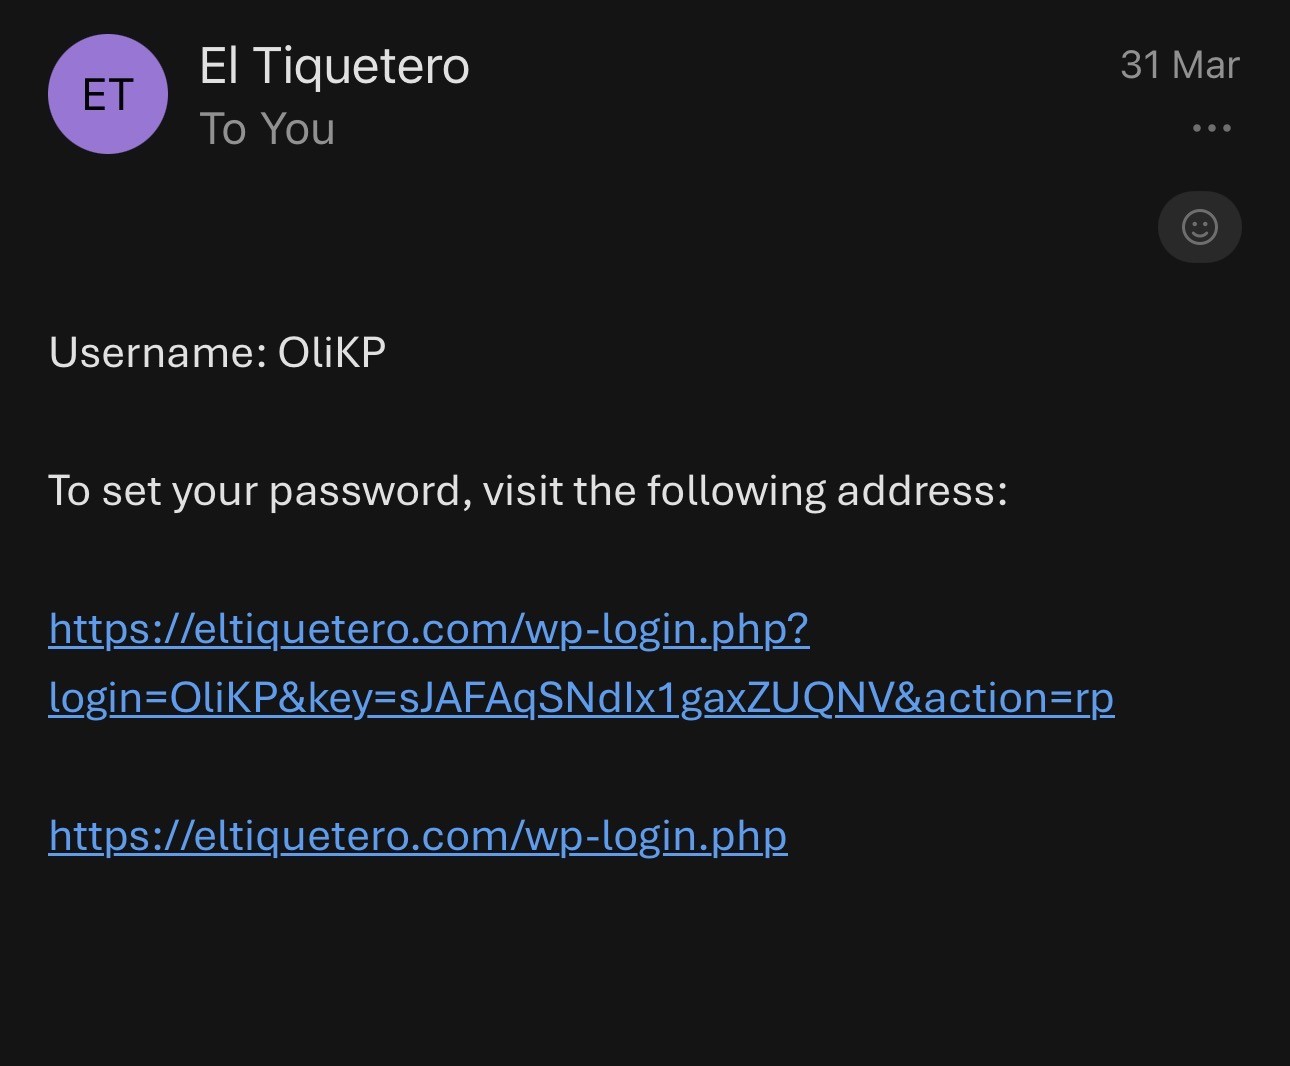
Check your email inbox
El Tiquetero will send a password setup link straight to your inbox. Open the email and click the link inside — it takes you directly to the password creation page.
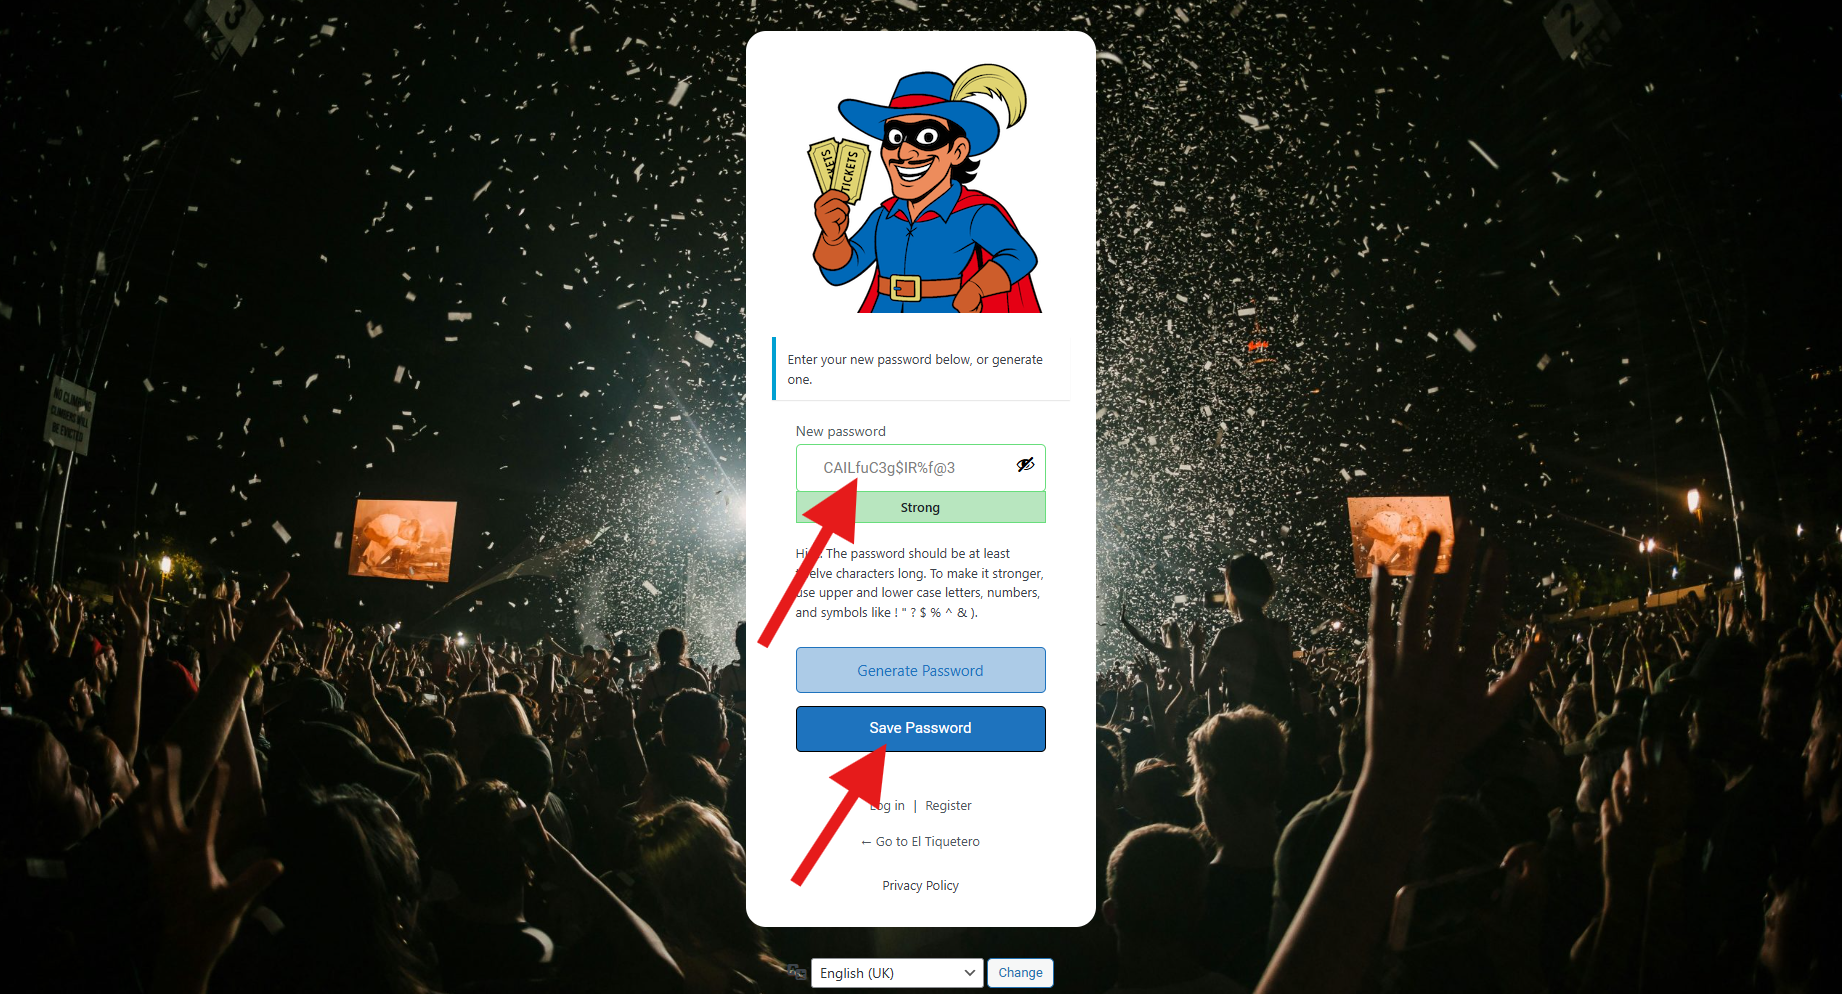
Set your password
Enter your chosen password in the New Password field, confirm it in the second field, and click Save Password. Make it something you'll remember — or store it in a password manager.

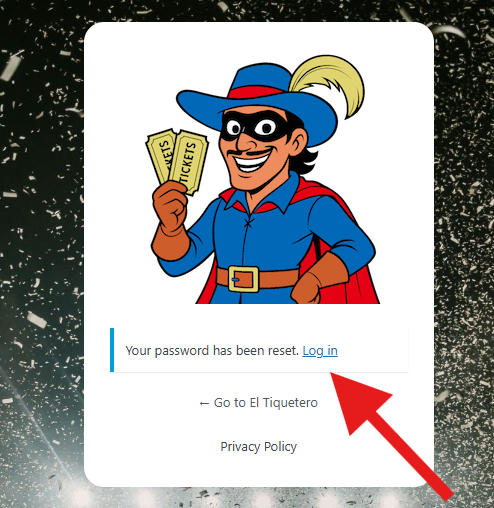
Log in to your account
Click Log In from the navigation menu. Enter your email and the password you just created, then click Log In.
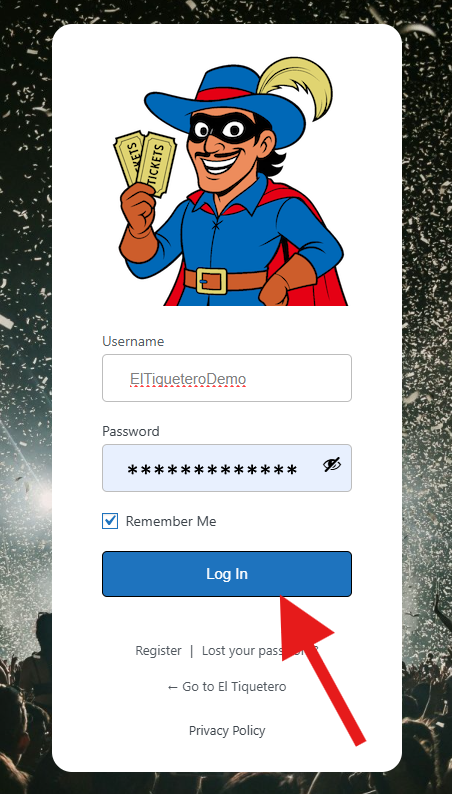
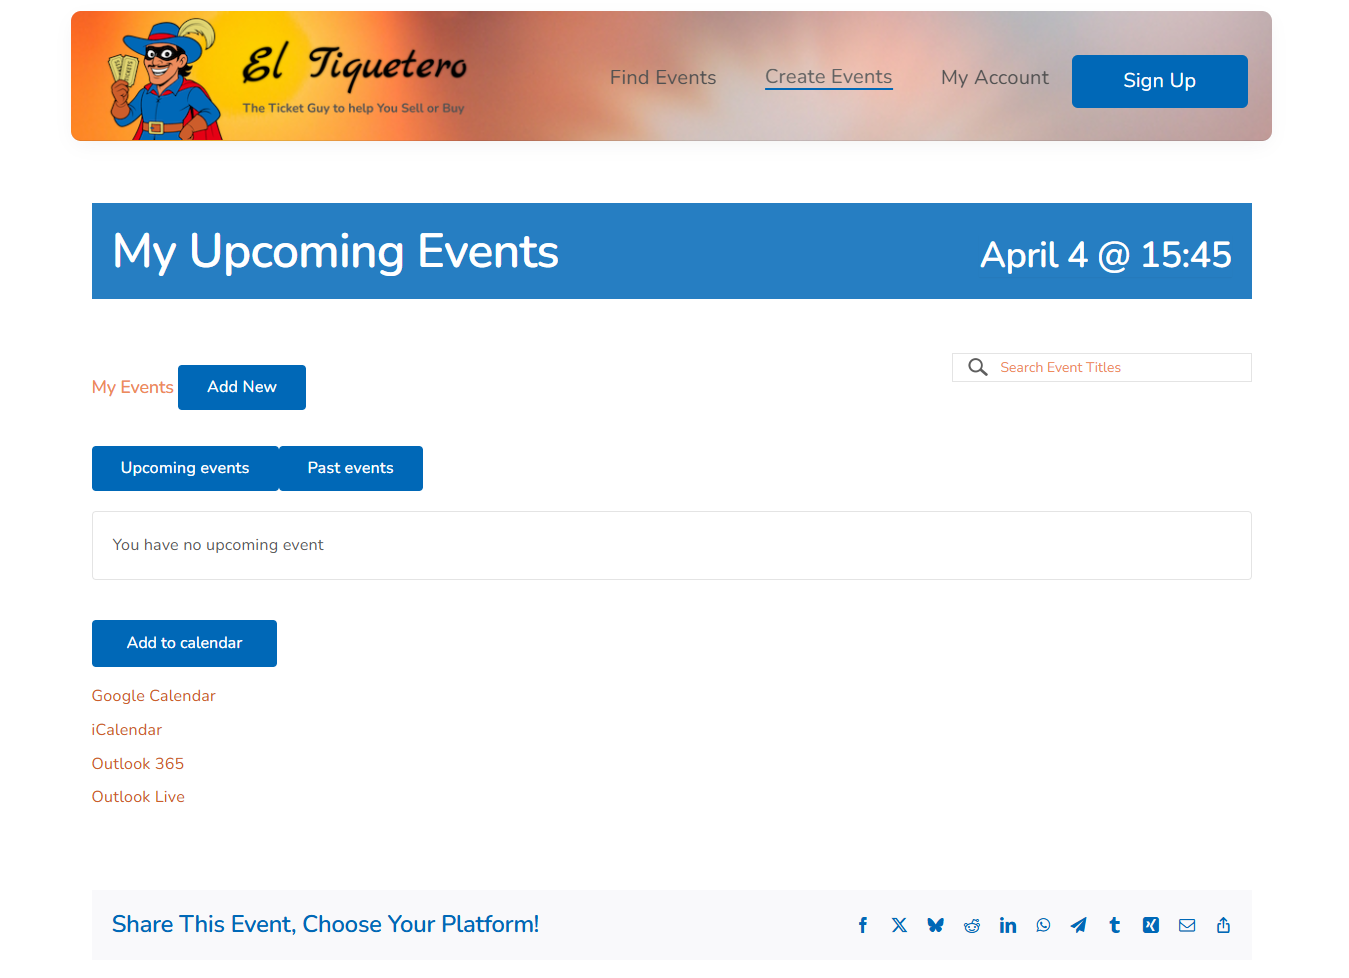
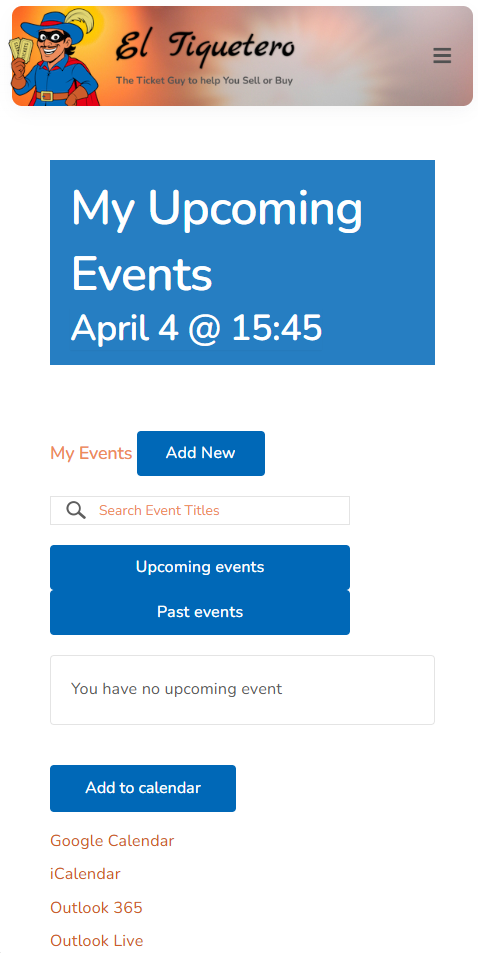
You're in — welcome to your dashboard!
You'll land straight on your events dashboard. From here you can create your first event, manage existing ones, and track your ticket sales in real time.
What is a series event?
A series event — also called a recurring event — is a single event that repeats automatically on a schedule you define. For example: a weekly yoga class every Tuesday, a monthly networking night on the first Thursday of each month, or a daily workshop running for five days. Rather than creating each date individually, you create the event once and set a recurrence pattern to generate all the dates automatically.
When you create a recurring event on El Tiquetero, a Series is automatically created and linked to it behind the scenes. The Series groups all the occurrences together and gives them a shared landing page on the calendar. You do not need to create or manage the Series yourself — it is handled automatically.
Recurring event showing multiple dates on calendar
All occurrences listed on the Series page
Ticketing rules — read this before you start
Before creating your series event, you need to understand how ticketing works with recurring events on El Tiquetero. The rules depend on what kind of ticketing you need. Choose the scenario that applies to you:
✅ Proceed with this guide
✅ Proceed with this guide, then contact Oliver
⛔ Do not use this guide — create individual events instead
Set up your first occurrence
A series event is created from the standard Add Event form — the same one used for single events. The first occurrence you set up becomes the anchor for your recurrence pattern, so fill in the date and time for the first date your event takes place.
Complete all the standard event details as you normally would:
Add Event form with first occurrence date set
Date & Time section on mobile
Click "Add more events" and choose your recurrence pattern
In the Date & Time section of the Add Event form, below the start and end fields, you will find an Add more events button. Click it to reveal the recurrence options. A dropdown labelled Happens will appear — select the pattern that matches your schedule.
Click each option below to see its available settings:
Arrow pointing to Add more events button and Happens dropdown
Weekly recurrence fields with days selected
Set when the series ends
After choosing your recurrence pattern, the Ends option controls how long the series continues to repeat. Choose one of the three options:
Ends dropdown with all three options visible
End date picker with a date chosen
Add exceptions (optional)
Once you have added a recurrence rule, an Add Exception button appears below the recurrence settings. Exceptions allow you to exclude specific dates or patterns from your series — for example to skip a bank holiday, a week when your venue is closed, or any other date when you do not want the event to appear.
Exceptions follow the same structure as recurrence rules — you can exclude by pattern or by individual date:
Arrow pointing to Add Exception button
Once exception set to exclude a specific date
Agree to the Terms of Submission and submit
Once you are happy with your recurrence pattern, end date, and any exceptions, scroll to the bottom of the form. Tick the mandatory Terms of Submission checkbox and click Submit.
Your series event will publish immediately. All occurrences are generated automatically at once and will appear on the El Tiquetero calendar. A Series page grouping all the dates together is also created automatically.
Terms checkbox and Submit button
Multiple occurrences visible on the calendar